Showing posts with label Paint. Show all posts

Wednesday, April 9, 2014

Upcycled Table Using Annie Sloan Chalk Paint


I bought this table for $10 from Goodwill and decided to give it an Annie Sloan Chalk Paint makeover.  The colors I chose are Scandinavian Pink and Chateau Grey (which looks green).  I love those 2 colors together.  As I was dappling on the color on the legs it reminded me of sponging and I liked the way it looked.  So I took a natural sponge and proceeded to sponge the CG on the legs instead.  Once all the paint was dry, I rubbed in a coat of clear wax, followed by dark wax to age it.

My next project is the free-standing fireplace to the right.  I think I'm going to use Old White and Coco for that project.  We'll see.


Friday, October 11, 2013

Pine Wall Shelves Upcycled with AS Chalk Paint


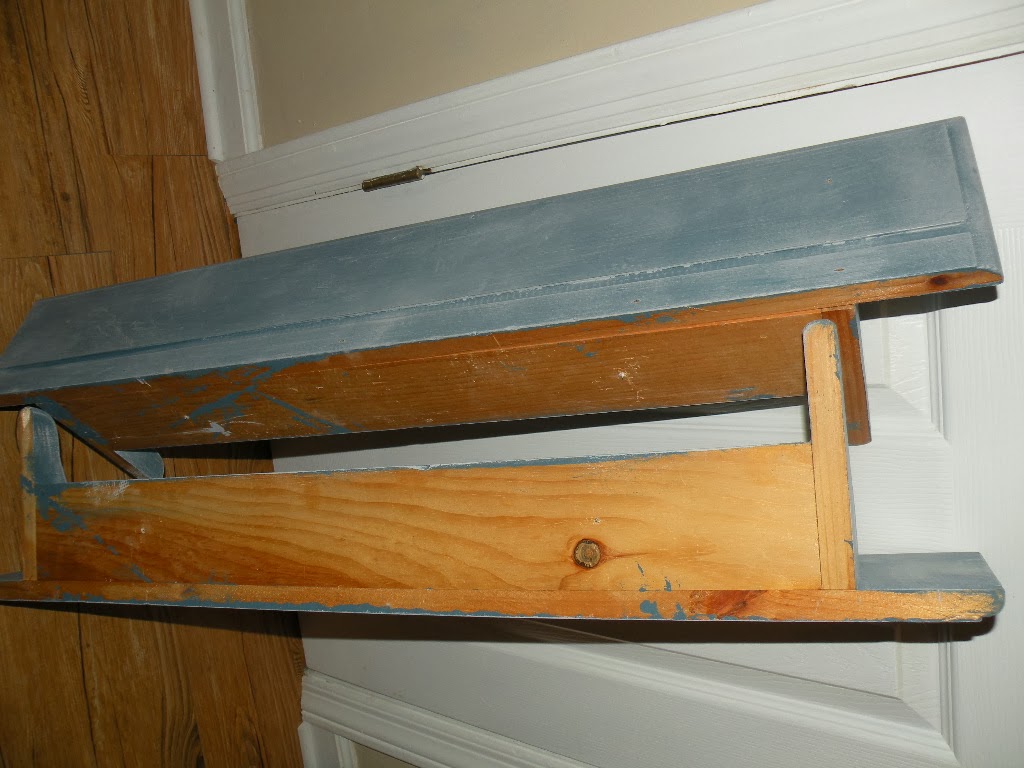
I purchased 2 simple unfinished pine shelves from the thrift shop for $5 each.  I painted each one with AS Chalk Paint in Aubusson Blue.  Afterwards I applied a dry brush of Paris Grey to tone down the blue and finished them off with a coat of clear wax.  When the wax was dry I buffed it to a nice sheen with a cloth.


The back is unfinished in this photo to show the "before" appearance.

After


The shelves each had 2 2-1/2"  wood screws through the front to attach to the wall.  Once hung, I covered the screw heads with ephemera I had in my craft room to make them more attractive.


Very easy project for very little money and they look great hanging on my den wall displaying my photography.


Wednesday, October 2, 2013

Painted Pumpkins Using Annie Sloan Chalk Paint


I purchased a small decorated pumpkin last year, and when I was putting up my Fall decorations I came a cross it.  I loved the look of it; the colors were great and I found myself admiring it and wishing I had bought more.  Lucky for me I'm a crafter, and what I can't buy I make!  I had one white vinyl pumpkin already waiting for something wonderful in my craft studio.  I also purchased 3 small sugar pumpkins from the local produce stand.


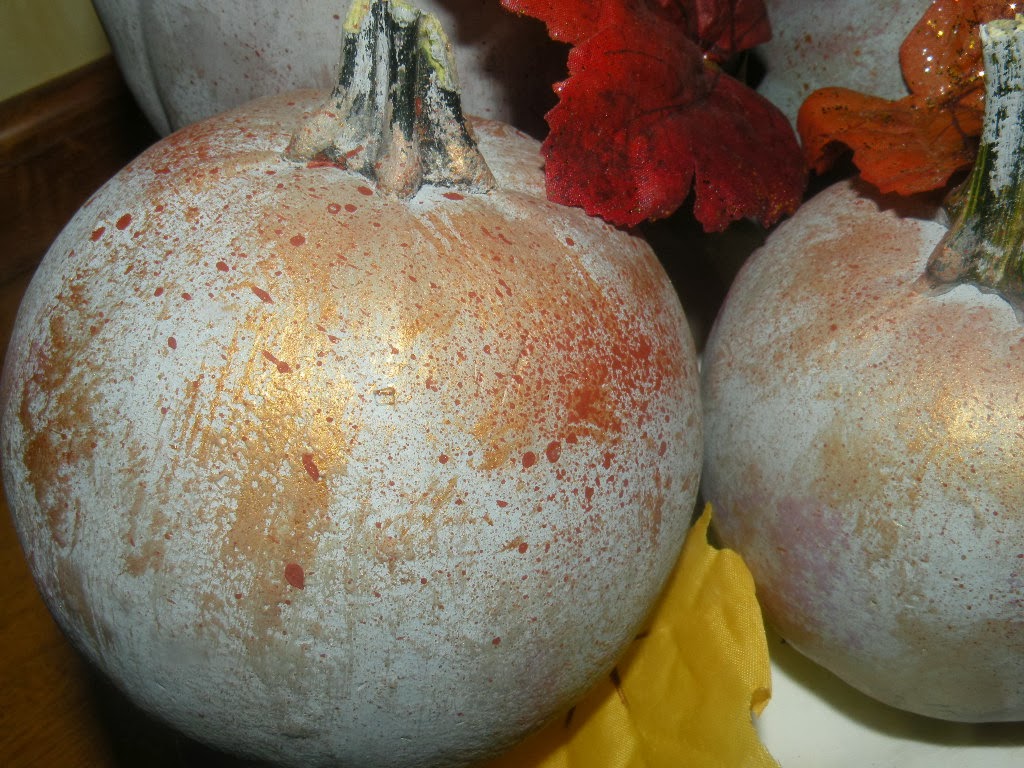
I decided to rely on my Annie Sloan Chalk Paint yet again and painted one Paris Grey, another Paris Grey with a dab of Aubusson Blue, another with Paris Grey and a dab of Duck Egg Blue and the last just Duck Egg Blue.  I shaded areas with mixtures of these colors; added some highlights and stippled darker variations here and there.  Then I began stippling on some acrylic colors such as gold, green, burgundy and even a little lavender!  


I then loosened up some Burnt Sienna with a little water.  With a toothbrush between my thumb and forefinger I speckled the pumpkins in different areas. I also loosened the gold paint and rather than add speckles I tapped the toothbrush over the pumpkins for larger splatters.  


After arranging them on a display stand, I added some glittered leaves to bring it all together.  Love!!


The display stand shown here is featured in a previous post.
The painter of pumpkins (and other things),


Saturday, September 21, 2013

Thrift Store Chair Turned French Country with AS Chalk Paint


Before
After


I bought this chair for $5.00 from a local thrift shop.  I needed a small chair to add to my French Country Bedroom and with a little TLC I knew this would be perfect.  I popped off the original seat cushion, which was thin and deteriorating and covered with a cheap torn vinyl.  I then painted the entire chair with AS Chalk Paint in Paris Grey.  I originally wanted to do a dry brush of Old White over it, but alas, what small amount was left in the can was not usable.  My first alternative was a dry brush of Duck Egg Blue and I loved it.  But then thought that I really should have used Paloma instead for a subtle lavender look since that is the main color in the room.  Hey, why not add that color as well, but instead of dry brushing it on, I thinned it quite a bit and splattered it all over with a 1" brush.  LOVE!

While that was drying I got to working on the cushion.  I bought a dense foam replacement from Jo-Ann's and used the same fabric (old tabbed muslin curtains) I used for the closet door panels in the bedroom.  I wanted to do a French image transfer and remembered I had just the thing.  I previously downloaded a French Wreath and Bee from The Graphics Fairy and ran it thru my inkjet printer onto Iron On Transfer Paper.  First I ironed the fabric, then I cut out the image and centered it on the fabric and transferred the image using a hot, dry iron.  Once the image was successfully transferred and set, I stapled the fabric over the foam onto the back of the original wooden seat template.  I laid it upon the newly made-over chair and was very happy with the results.


Not being one to leave well enough alone, I sat staring at the chair feeling very pleased with myself and at the same time noticing my nail polish.  Hey, the chair looks almost like my polish minus the black.  I could add some flecks of black paint with an old toothbrush and then the black graphic on the cushion would tie in nicely!  So that's exactly what I did.  I added just enough water to a puddle of black acrylic paint to make it the consistency of ink.  Got my toothbrush (well I actually used my husband's!  haha - not really) and flicked the fleck out of it.  It just keeps getting better!  All that is left to do is apply some clear wax, screw on the cushion and place it in the bedroom.  Voila! as the French say.


A Perfect Match!


Avoir un siège!