Showing posts with label pumpkins. Show all posts

Monday, September 29, 2014

Sugar Pumpkin Mum Pots


Great Fall decoration for door prizes, to enhance a dinner table or make individual pumpkins for each guest with their name written on the leaf as place cards.


Supplies:

1 Sugar Pumpkin
Pumpkin Carving knife or other small sharp knife
Pumpkin flesh removal scoop or big spoon
Drill with 1/4" drill bit
Assorted Mum stems
Silk leaves (optional)
Sharpie w fine pt. (optional)

With a sharp knife cut a circle 1" below the stem of the pumpkin, make cuts at an inward angle so the top does not fall into the pumpkin when replaced.
Using a scoop or large spoon, remove all of the flesh inside (reserve pumpkin seeds for roasting later. See my recipe for Spicy Roasted Pumpkin Seeds).
Drill 5 evenly spaced holes around and through the pumpkin about 1" down from opening.

Fill with water and replace top.
Trim leaves from stems of Mums and cut to fit through the holes and well into the water.
If you want to add a message or use as place settings at a dinner party, write on the silk leaves with a fine point Sharpie.  Attack to pumpkin with a straight pin.  Hot glue will come loose unless you are using artificial pumpkins.


Wednesday, October 2, 2013

Painted Pumpkins Using Annie Sloan Chalk Paint


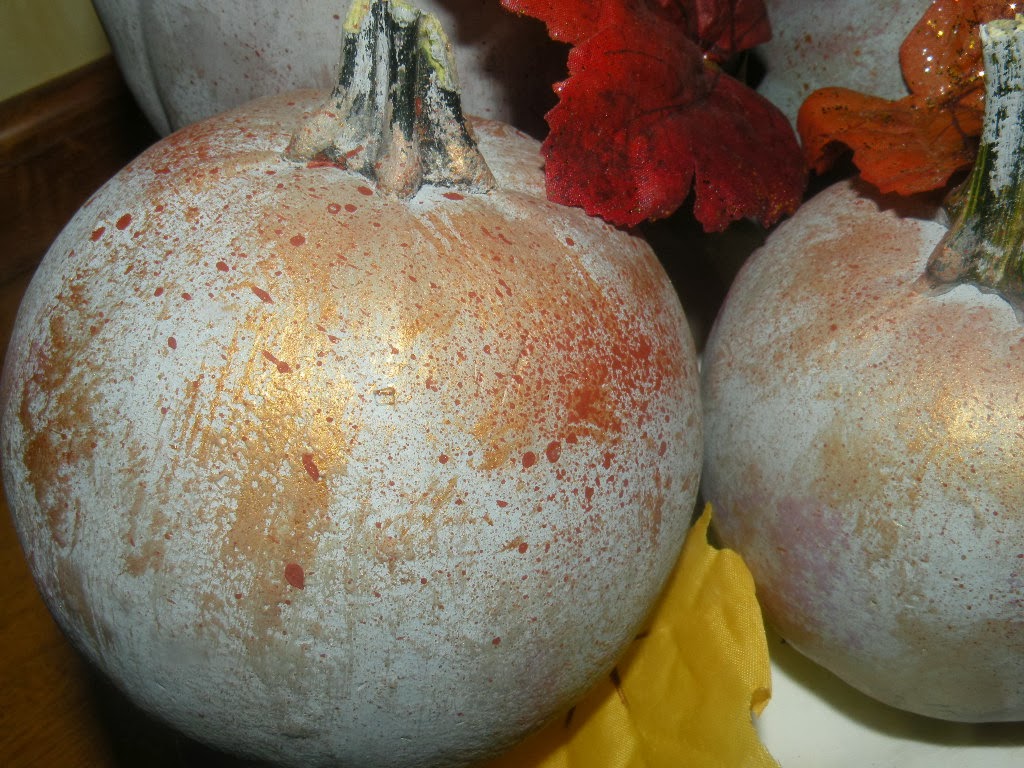
I purchased a small decorated pumpkin last year, and when I was putting up my Fall decorations I came a cross it.  I loved the look of it; the colors were great and I found myself admiring it and wishing I had bought more.  Lucky for me I'm a crafter, and what I can't buy I make!  I had one white vinyl pumpkin already waiting for something wonderful in my craft studio.  I also purchased 3 small sugar pumpkins from the local produce stand.


I decided to rely on my Annie Sloan Chalk Paint yet again and painted one Paris Grey, another Paris Grey with a dab of Aubusson Blue, another with Paris Grey and a dab of Duck Egg Blue and the last just Duck Egg Blue.  I shaded areas with mixtures of these colors; added some highlights and stippled darker variations here and there.  Then I began stippling on some acrylic colors such as gold, green, burgundy and even a little lavender!  


I then loosened up some Burnt Sienna with a little water.  With a toothbrush between my thumb and forefinger I speckled the pumpkins in different areas. I also loosened the gold paint and rather than add speckles I tapped the toothbrush over the pumpkins for larger splatters.  


After arranging them on a display stand, I added some glittered leaves to bring it all together.  Love!!


The display stand shown here is featured in a previous post.
The painter of pumpkins (and other things),