I

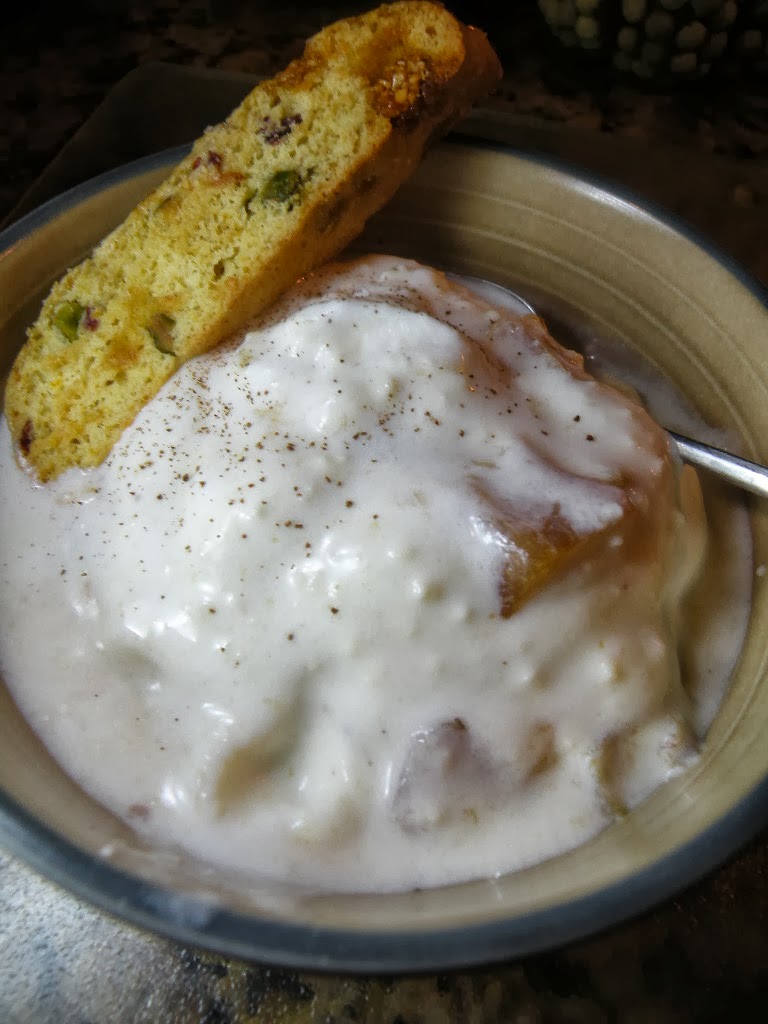
I went to lunch with a friend today and we both ordered the Butternut Squash soup off the seasonal menu. It was delicious. My friend order a quart to go, and I told her whatever the restaurant charged I would charge $1 less - kidding of course. It got me thinking about making some soup though. Then my cousin messaged me and asked if I had a good Butternut Squash Soup recipe. Now I know it was a sign for me to make some. So here it is. The lighting in the photo makes it look more like Split Pea Soup, but in reality it's the richest butternut color and tastes even richer. This is a curried version, not quite as sweet as some of the others. If you desire more sweetness, up the amount of brown sugar.
1 medium Butternut Squash, peeled, seeded & cubed
1 large Vidalia onion
2 large carrots, peel and cut into chunks*
2 medium sweet apples, peel, cored and cut into chunks*
Vegetable oil
1 Tsp salt
1 tsp ground cinnamon
4 T butter
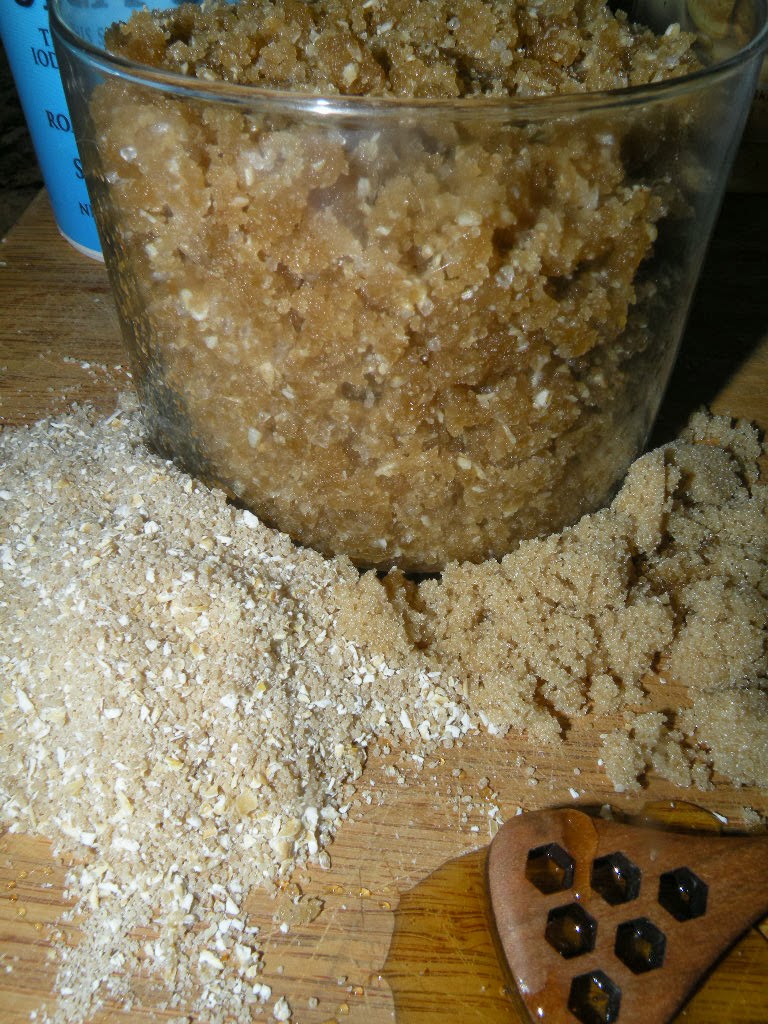
3 T brown sugar
1 T curry
1 tsp Garam Masala
1/3 C toasted pistachios
3 C chicken or vegetable broth
1 can coconut milk
2 T maple syrup
Salt & Pepper to taste
Garnish with bread, coconut & pistachios, if desired
*Try to make all the vegetable chunks the same size so that the roasting time is the same for all.
Preheat oven to 400*. Place peeled and cubed vegetables on rimmed baking sheet. Drizzle w/oil, sprinkle with salt and cinnamon. Stir well until all vegetables are coated. Bake 20 mins., stir and bake an additional 20 minutes or until all vegetables are fork tender.

In a large pot, melt butter, add brown sugar, curry, Garam Masala & toasted pistachios. Cook for 1 minute. In the bowl of a food processor add the roasted vegetables in 3 batches, along with the curried pistachios and the broth. Process until desired consistency.
Add to the large pot and pour in the coconut milk and maple syrup. Add salt & pepper. Serve with multi-grain bread.


Now curry along and make this - the outside temps are dropping over the next few days and this is just the thing to warm you up!